Oracle23cFREE and ORDS/APEX on Windows using Podman
I came into contact with Oracle RDBMS at school somewhere near the end of the 90's. Ever since then I've worked with the Oracle Database. Over time I've written a few documents for myself and my colleagues explaining things that are not immediately clear by reading the doc. Eventually all of these should find their way here.
My company laptop is large enough (32Gb RAM) to host the containerized versions of the Oracle 23c FREE edition and ORDS. But it has also some limitations on installing and configuring things. I mainly ran into networking issues, which are probably related to the fact that I can't change firewall settings.
This is one of the reasons that led me to use Podman instead of Docker Desktop: multiple containers in a pod can talk to each other over localhost:port. The second reason is that https://container-registry.oracle.com/ords/ocr/ba/database also uses Podman in its examples.
Prerequisites
WSL2
You must have WSL2 (Windows Subsystem for Linux) installed. I'm not going to describe that here.
Podman
On my company laptop, the easiest way to install Podman was to run
winget install RedHat.Podman
from a DOS_box.
For those that want a GUI to go along with that, use Podman Desktop:
# Optional:
winget install RedHat.Podman-Desktop
While using that GUI, I found it not showing the things I created with it. Pull an image and it does not appear in the list of images. Create a container and it does not appear as a container. Only by going through a rather obscure menu could I refresh the GUI to show the created items. So I switched to the command line.
Being used to Portainer, I opted to use that instead to check on things. Portainer works with Podman, since Podman exposes the same API as Docker does. The only thing Portainer does not show is Pods, but the Containers in a Pod are all individually available.
Setting up
After having installed Podman (just another Windows CLI program) you have to initialize the default Podman Machine.
This is another reason why I prefer Podman over Docker Desktop: The Podman Machine is a small WSL distribution. Docker Desktop, on the other hand, soiled my default WSL distribution (which happened to be an Oracle Linux) by adding Docker stuff into that.
So only once, you have to run
podman machine init
Running wsl --list shows that a new distribution called podman-machine-default was created.
If you'd like to add that little machine to Windows Terminal, use wsl.exe -d podman-machine-default as command line.
Starting the Podman Machine
While the command line podman program is always available, Podman (the system) needs the Podman Machine to be running (under WSL). So, after the initialization, whenever WSL was shutdown or whenever the Windows host was rebooted, you must start the Podman Machine using
podman machine start
Preparations
Pulling images
Images are like installation packages. While it is possible to create a container without pulling (downloading) the image it will be created from first, I like to pull images separately. Seeing that the one for Oracle 23c FREE is > 9Gb is just one of the reasons.
# 1) The database
podman pull container-registry.oracle.com/database/free:latest
# 2) ORDS (including Apex and Database Actions etc)
podman pull container-registry.oracle.com/database/ords:latest
# 3) Optional: Portianer
podman pull docker.io/portainer/portainer-ce:latest
These downloads end up in the filesystem of the podman-machine-default WSL distribution.
You can list the available images using podman images.
Volumes
A Volume is persisted storage for a Container. It is possible to destroy a Container, but keep its Volume and use that Volume for another Container (even one based on a different Image). It is possible to use ordinary Windows folders as persisted storage, but real Volumes have advantages: performance and security.
The database needs a Volume to store its data files (etc), and ORDS also needs a Volume to store its configuration. (Portainer also uses a Volume, but I didn't bother creating that beforehand.)
podman volume create orcl23c_data
podman volume create ords_config
At this moment those Volumes, orcl23c_data and ords_config, are nothing but names. (And maybe empty directories in the podman-machine-default WSL distribution.)
Use podman volume ls to list the volumes.
The Pod
A Pod is somewhere to put containers together. The main benefit, for me, is that containers in a Pod are like distinct programs on one computer:
they can communicate with each other over
localhost:port.they share a single process space
...
One drawback of a Podman Pod is that it is the Pod that describes which ports (used by the Container inside the Pod and determined by the images they are based on) are mapped/exposed to which ports on Windows.
It is not possible to add a port later on. (While it is possible to add another container to a pod, later in the pod's life).
From the documentation on https://container-registry.oracle.com/ords/ocr/ba/database/free and https://container-registry.oracle.com/ords/ocr/ba/database/ords I know that only 1521 (DB Listener) and 8181 (http cleartext ORDS) are used. But sometime in the future, I'd like to talk https to ORDS, so I foresee already using 8443 as well.
I will be mapping ports in the pod (1521, 8181 and 8443) to the same ports at the Windows level since I have nothing else using those ports already.
The commend to create the Pod:
podman pod create --name orcl --infra-name pod_orcl_infra -p 1521:1521 -p 8181:8181 -p 8443:8443
Explanation
podman pod create The command to create a pod using Podman. Wow!
--name orcl The pod will be named orcl.
--infra-name pod_orcl_infra Inside every Pod, there is always an extra Container, called the Infrastructure Container, that takes care of pod-relative functionality. This option gives that Container a name, pod_orcl_infra, indicating that it is the Infra Container for Pod orcl. This is mainly handy when looking at Portainer since it will show all Containers individually, not as part of a Pod.
-p 1521:1521, -p 8181:8181, -p 8443:8443 Only those three ports will be exposed. I expose them on the same port numbers. Using for example -p 8521:1521 would expose port 1521 (from inside the container) as port 8521 (in Windows). Using a Windows client, I would then connect using sys/password@localhost:8521/FREE, while inside the Container the listener is listening to port 1521 as usual.
The DB container
The Containers are created using an Image (already pulled) and in our case, they will go in Pod (already created). They will use Volumes that also have already been created.
The ORDS container (which includes Apex) will be created later. First, let's create the DB Container:
podman run -d --pod orcl --name=orcl23c -v orcl23c_data:/opt/oracle/oradata --tz=Europe/Brussels container-registry.oracle.com/database/free:latest
Explanation
podman run The container will not only be created but also immediately run.
-d run in detached mode. Otherwise, you wouldn't get the Windows command prompt back...
--pod orcl Put this Container in a Pod, the one called orcl.
--name=orcl23c Call this Container orcl23c. This name is needed to reference this container later on.
-v orcl23c_data:/opt/oracle/oradata Mount the Volume called orcl23c_data (already created) as directory /opt/oracle/oradata in the Container. That directory will be created based on the Image.
--tz=Europe/Brussels Use that timezone. Otherwise, file timestamps (and DB-time!) in the container would be different from the Windows time.
container-registry.oracle.com/database/free:latest Use this Image to create the Container. So in the container registry of Oracle (located at container-registry.oracle.com) find Image database/free and get its latest version. In our case we have already pulled that image, no further download is needed.
Some things that are not in there:
I did not set a password (
ORACLE_PWD).
The container provides a way to that later (setPassword.sh). This way, there will be no environment variable exposing the password.
Usingpodman secretdid not work for me. Presumably, it is a Windows thing regarding quotes etc.I did not set
ORACLE_CHARACTERSET. The default ofAL32UTF8suits me fine.I did not add volumes for additional startup or setup scripts.
Verification
The podman run command takes a surprisingly short amount of time to start the database: just a few seconds.
You can use another DOS prompt to execute podman logs orcl23c. This will show the logs written by the Container called orcl23c. Quite soon this will show
#########################
DATABASE IS READY TO USE!
#########################
This log also reveals that the instance is called FREE and that there is a PDB called FREEPDB1.
Optional:
From inside the Container, you can already connect to the database (remember that no password has been set yet) using the Bequath connection.
To do this, either create a new Windows Terminal profile with as command line podman exec -it orcl23c bash.
Or use that same command straight from the DOS command line.
This tells podman to start an interactive (-i) terminal (-t) (a TTY) to the orcl23c Container and launch the bash command in there. In other words: start the shell in that Container.
In that bash shell, you can now run sqlplus / as sysdba.
Set the passwords
Oracle provides in the container a utility to set the passwords for SYS, SYSTEM and PDBADMIN. In the end, it does nothing more than
sqlplus / as sysdba
      ALTER USER SYS IDENTIFIED BY ...;
      ALTER USER SYSTEM IDENTIFIED BY ...;
      ALTER SESSION SET CONTAINER=FREEPDB1;
      ALTER USER PDBADMIN IDENTIFIED BY ...;
Which you could do in the bash shell shown above. But instead of running bash, you can tell Podman to run that script:
podman exec orcl23c ./setPassword.sh S€cr€tP4ssword
In other words: Dear podman, in Container orcl23c, please execute script ./setPassword.sh which takes as its first parameter my new password: S€cr€tP4ssword. There is no -it in there since we're not interested in interactivity. The output is returned though.
Connect
At this moment it should be possible to use your favorite DB client (on your Windows machine) and connect to the database.
Using the following connection settings in SQL Developer
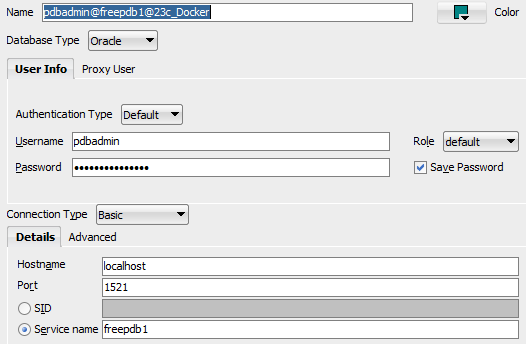
I can do
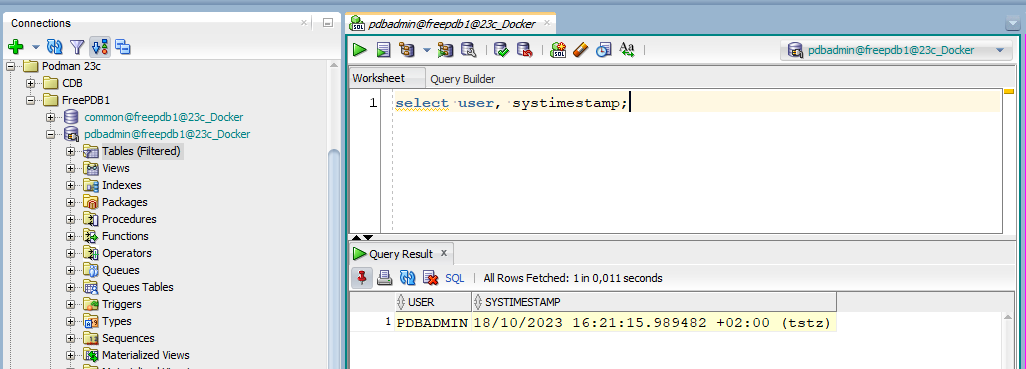
Notice the lack of from dual, a new 23c feature.
I guess that supposing I were able to open port 1521 on my laptop to the network, remote machines would also be able to use my DB.
The ORDS Container
Which also includes setting up Apex in the DB!
Preparation
This container requires setting up a conn_string.txt file that contains the connection string to the DB. The directory containing that file will be mounted as a volume. Next, the starting container will read that file, and if all goes well, it will delete the file.
Contrary to the prior volumes created for performance and persistence, this one is just for one-time usage. It is therefore okay to mount an ordinary host folder.
So make a new folder. Its location and name do not really matter but mine was C:\Users\jvdboss1\Documents\Podman\ords_secrets. You'll find that path later on in the Container creation command.
In that folder, I created the expected conn_string.txt file. And that file contained
CONN_STRING=sys/S€cr€tP4ssword@localhost:1521/FREEPDB1
The connection must be for sys since an as sysdba connection is used when installing Apex.
Creating the container
As explained on https://container-registry.oracle.com/ords/ocr/ba/database/ords these are all the preparations needed.
podman run -d --pod orcl --name ords -v C:\Users\jvdboss1\Documents\Podman\ords_secrets:/opt/oracle/variables -v ords_config:/etc/ords/config/ container-registry.oracle.com/database/ords:latest
Explanation
podman run The container will not only be created but also immediately run.
-d run in detached mode. Otherwise, you wouldn't get the Windows command prompt back...
--pod orcl Put this Container in a Pod, the one called orcl. (Which now already has the orcl23c container running inside of it)
--name=ords Call this Container ords. This name is needed to reference this container later on.
-v C:\Users\jvdboss1\Documents\Podman\ords_secrets:/opt/oracle/variables Mount the Windows folder C:\Users\jvdboss1\Documents\Podman\ords_secrets as directory /opt/oracle/variables in the Container. That directory will be created based on the Image.
-v ords_config:/etc/ords/config/ Mount the Volume called ords_config (already created) as directory /etc/ords/config/ in the Container. That directory will be created based on the Image.
container-registry.oracle.com/database/ords:latest Use this Image to create the Container. So in the container registry of Oracle (located at container-registry.oracle.com) find Image database/ords and get its latest version. In our case we have already pulled that image, no further download is needed.
Keeping an eye on things
The installation of Apex takes quite some time, so it is nice to be able to see the output of it.
From a separate dos-prompt, run podman logs -f ords. The -f option makes sure you keep following the logs, not just output the current state of the log, once.
This will tell you
INFO : This container will start a service running ORDS 23.2.3 and APEX 23.1.0.
INFO : CONN_STRING has been found in the container variables file.
INFO : Database connection established.
INFO : Apex is not installed on your database.
INFO : Installing APEX on your DB please be patient.
INFO : You can check the logs by running the command below in a new terminal window:
        docker exec -it orcl tail -f /tmp/install_container.log
WARN : APEX can be installed remotely on PDBs, If you want to install it on a CDB,
       install it directly on the Database and not remotely.
So, it explains there is a command to follow what is being done for the Apex install. But the listed command needs some adapting: We're using Podman instead of Docker and our container is called ords instead of orcl. So,
podman exec -it orcl tail -f /tmp/install_container.log
can be used to tail the Apex installation. Like before, this command will use container ords to execute the tail -f /tmp/install_container.log command.
Eventually (after a couple of minutes) the tail will end, stating
Disconnected from Oracle Database 23c Free Release 23.0.0.0.0 - Develop, Learn, and Run for Free
Version 23.3.0.23.09
In the other DOS-terminal, where the container creation was running, more important information can be seen:
INFO : Use below login credentials to first time login to APEX service:
        Workspace: internal
        User:      ADMIN
        Password:  Welcome_1
And regarding ORDS (which is installed after Apex):
ORDS: Release 23.2 Production on Wed Oct 18 16:04:15 2023

Copyright (c) 2010, 2023, Oracle.

Configuration:
  /etc/ords/config/

The setting named: jdbc.InitialLimit was set to: 10 in configuration: default
INFO : Starting the ORDS services with the following database details:
INFO :   localhost:1521/FREEPDB1.

ORDS: Release 23.2 Production on Wed Oct 18 16:04:17 2023

Copyright (c) 2010, 2023, Oracle.

Configuration:
  /etc/ords/config/

2023-10-18T16:04:17.529Z INFO        HTTP and HTTP/2 cleartext listening on host: 0.0.0.0 port: 8181
2023-10-18T16:04:17.579Z INFO        The document root is serving static resources located in: /etc/ords/config/global/doc_root
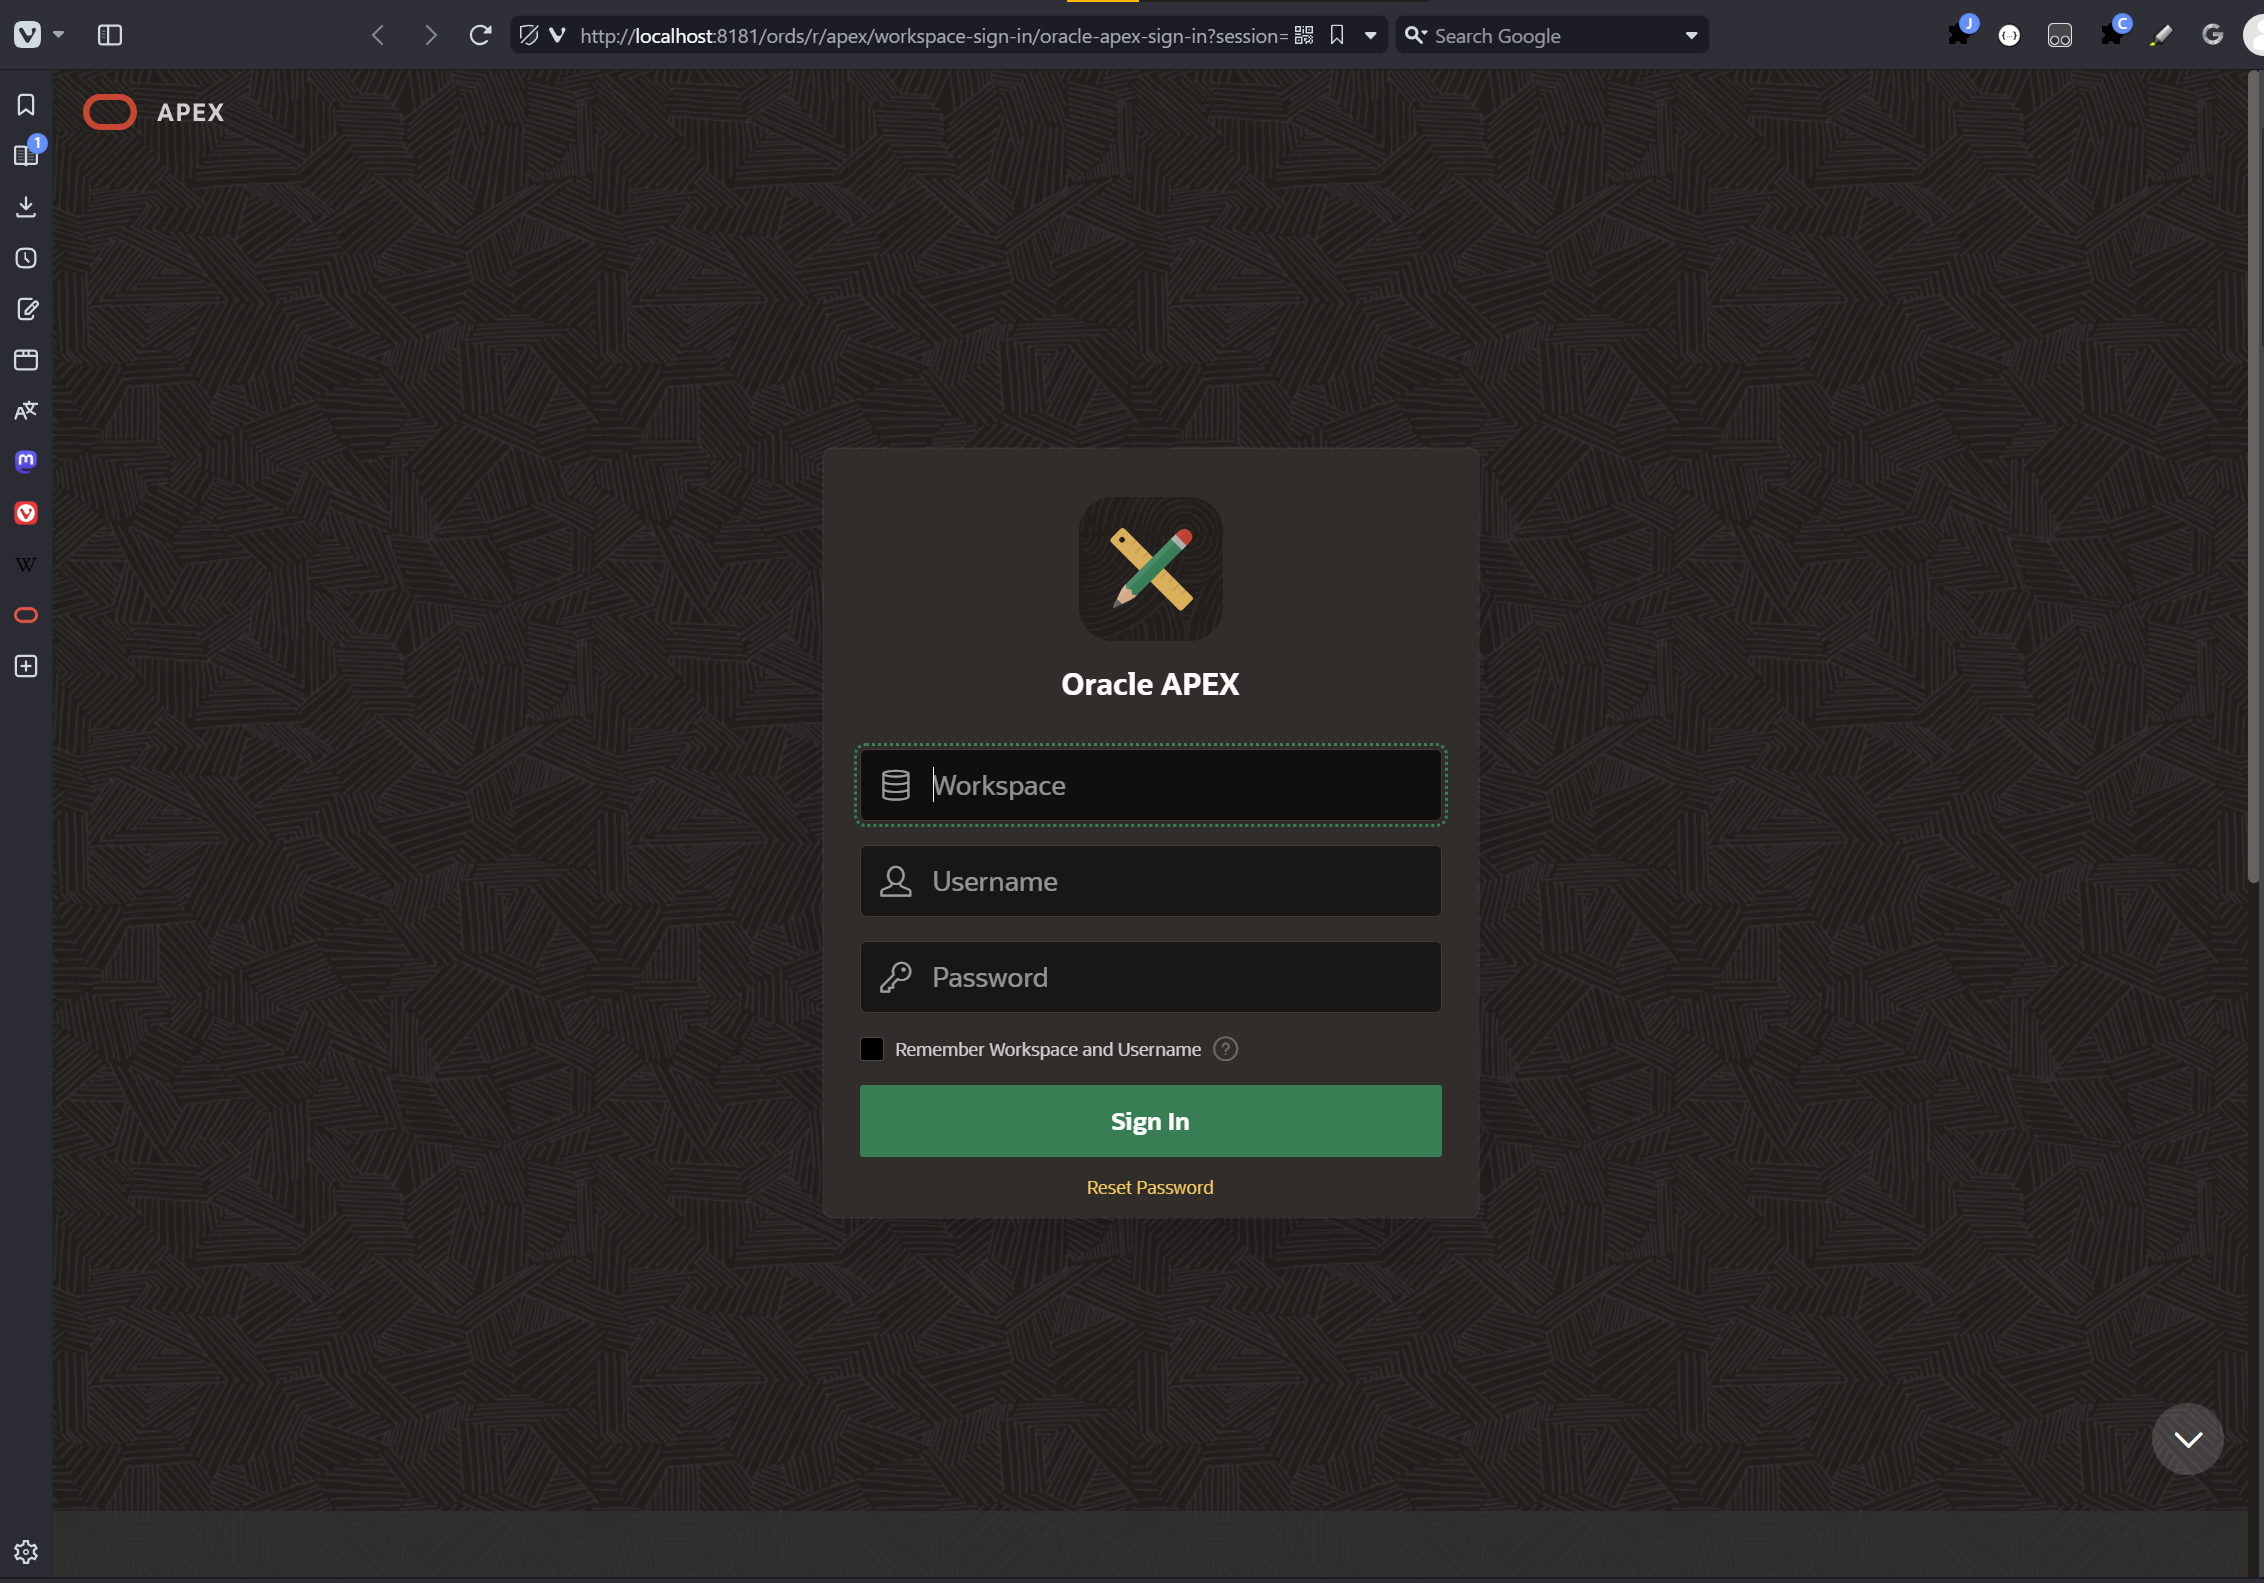
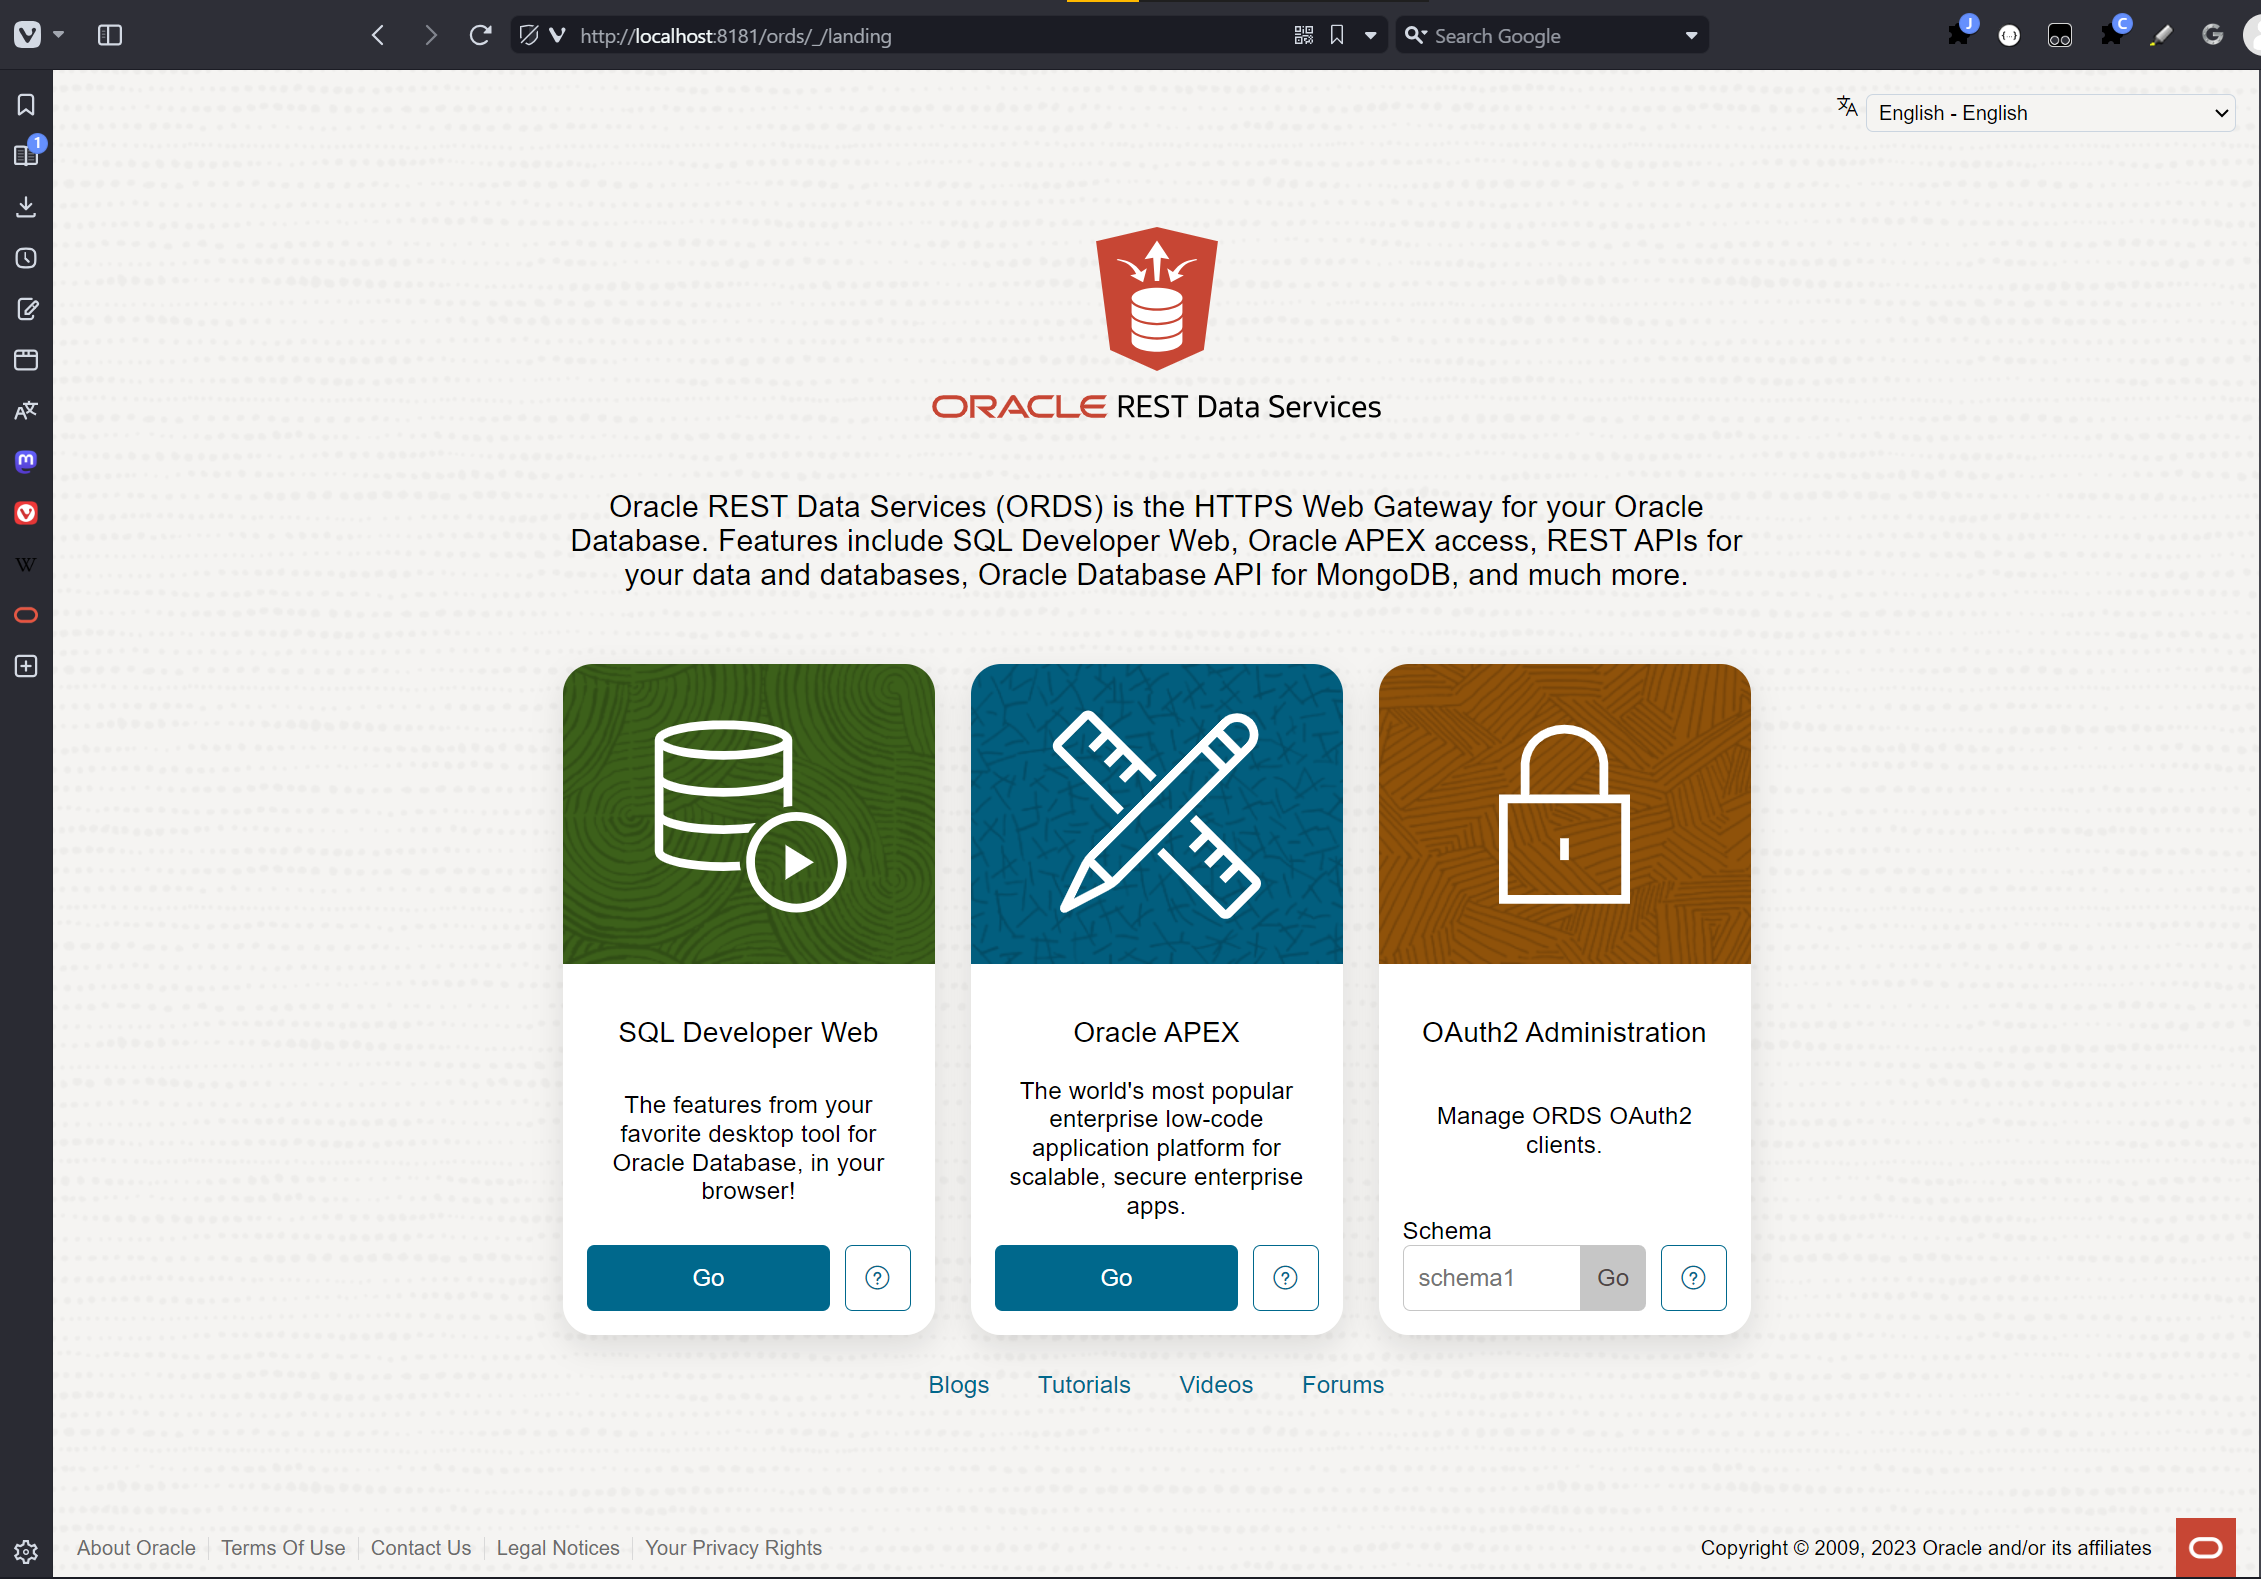
And finally, you can surf to http://localhost:8181/ords to get
or to http://localhost:8181/ords/apex to get